Monday, December 30, 2013

Taylor by Patti Hamil

Hi! Patti here today sharing a layout. I used several Couture Creations dies and embossing folders! This is my youngest son's fiance, and we are so happy to have her join our family! She is beautiful inside and out!


I made some blue flowers with the Daisy Nesting Dies. I used one of the Sophia Dies for the leaves. I added a self-adhesive pearl for the flower center. I  layered a scrap piece of embossed paper under the photo.


I made two more types of flowers made with the Daisy Nesting Dies, some Self-Adhesive Gemstones and another Sophia Intricutz Die. I added Gemstones to some areas for a gold accent.


I embossed two Core'dinations tags with the Craisy Daisy Embossing Folder. I inked them lightly with white ink.


This page came together using scraps and just a few accents! I like to go through my scrap pile to see what combinations I can come up with!

Thanks so much for stopping by!
~Patti

Couture Creations Supplies: 
CO723217 Daisy Nesting Dies
CO723505 Sophia Intricutz Dies - Marant
CO723493 Sophia Intricutz Dies - Mattloa
CO723525 Fine Designs Collection - Crazy Daisy Embossing Folder
CO723284 Elegance Collection - Taylor Embossing Folder
CO721999 Cafe Cream Self Adhesive Pearls
CO721992 Blue Iceberg Self Adhesive Gemstones
CO721990 Vintage Gold Self Adhesive Gemstones

Friday, December 27, 2013

Anniversary Shoe by Tracey Cooley

Hi! Tracey Cooley here today. My cousin has been married for 25 years and she has a small shoe problem...problem being which of her 150 pairs of shoes should she wear! A while ago I created an altered shoe inspired by our very own Sue Smyth and my cousin admired it greatly, so for her anniversary I decided to create her a show in her favorite color.


Most of the flowers I have embellished this shoe with are made using the Couture Creations Victorian Square Nesting Dies, a great set of dies to make easy flowers with!


Cut 3 of each of the smallest 3 Victorian Square Nesting Dies, with 1 of each size being a different color or shade form the others. Cut 3 quarters of the way into the die-cut at each point and layer onto a brad making every third layer the alternate color. Spritz with a bit of water to loosen the paper fibers and scrunch together one layer at a time. Then, unravel your scrunched layers to form your flower. This is a great way to make your flower look a little different from the everyday.

The black flowers in the shoe are created the same way, but when finished, have been spritzed with spray adhesive and sprinkled with pink glitter.


Keep on Creating!


Couture Creations Supplies:
CO723225 Fantasia Collection - Dazzling Doily Die
CO723048 Victorian Square Nesting Dies
CO721994 Pink Diva Gemstones
CO721996 Crystal Gemstones
CO723505 Sophia Collection - Marant Die

Wednesday, December 25, 2013

Last Minute Christmas Card by Patti Hamil

Hi! Patti here today. If you are like me, you always forget someone on your Christmas card list. Then you remember at the last minute and you may not have any cards left. Well if this happens I have a quick solution!


I grabbed my Christmas Lyrics and Jolly Christmas Embossing Folders from the Couture Creations Wrapped in Joy Collection. I used some specialty cardstock that is shiny and perfect for Christmas!


I embossed the Jolly Christmas on a gold piece of cardstock a little smaller than 5x7 inches and embossed the Christmas Lyrics on a red piece of cardstock a little smaller than 4x6 inches. I then trimmed the edges. I inked the red cardstock with a gold ink to bring out the sentiment.


To finish the card I used Foam Mounting Tape for the sentiment and added a sparkly gold button with some green wax thread. Not elaborate, but still very pretty and enough to let some one know that you "did not" forget about them!


Thanks so much for stopping by for a visit!

Couture Creations Supplies:
CO723595 Wrapped in Joy Collection -  Jolly Christmas Embossing Folder
CO723607 Wrapped In Joy Collection -  Christmas Lyrics Embossing Folder

Monday, December 23, 2013

Christmas Centerpiece and Bon Bons by Kerrie Gurney

Hi everyone! Kerrie Gurney here today sharing some Christmas decor pieces. This Christmas I am repeating my theme of Red, Cream/White and Kraft that I used last year and loved so much. I have used the Couture Creations Magical Christmas Eve Decorative Die for both of these very easy projects.

Bon Bons
When I saw these Bon Bons in the store I knew they would be perfect for our Christmas theme but they were a bit boring and needed a something added to them to give them more of a Christmas feel. I wanted something that didn't take a lot of effort as these would be tossed in the bin after they had been pulled open on Christmas Day. My solution was to add some die-cut poinsettia flowers to these store bought bons bons taking them from drab...


 to fab...


With not much effort, you could add more embellishments if you like, but as they will just be thrown out, I thought this was enough.


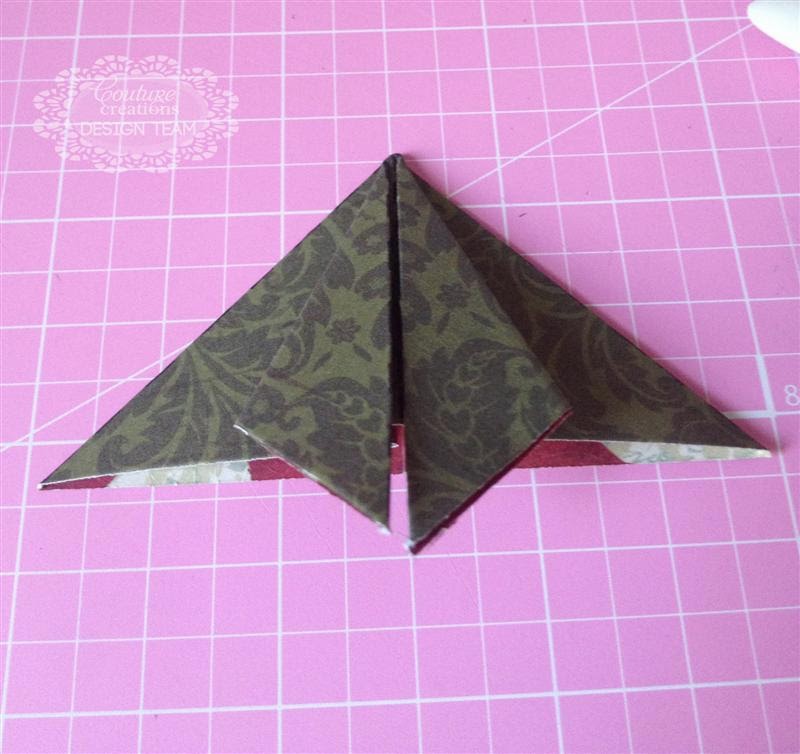
To create the poinsettia flowers, use red cardstock, run the dies through a die cutting machine and while the cardstock is still in the die, run it through the machine again using the Couture Creations Latex Embossing Mat to give the flower petals embossed detail.


Pinch the petals to give them more character.


As these bon bons will be thrown out once pulled apart, I only used one each of the large and small petal die-cuts, die-cutting the middle piece from gold cardstock and adding some Red Glitzin' Glamour Glitter Glue to add some sparkle.

Table Centerpiece

Start with a store bought pine table centerpiece.


Hot glue some glitter baubles and poinsettias created from old book paper. Create the poinsettia flowers the same way as the red poinsettias, but to save time, die-cut 4 pieces of book paper at a time. (Book paper is quite thin so you can cut 4 sheets at a time.) To create a fuller poinsettia flower, use two large and one small die-cut petals for each flower, die-cut the center from gold glitter cardstock.


To embellish the candle, add some pleated hessian, tie some jute string around the middle of the hessian and add a poinsettia flower created using old book paper and gold glitter cardstock for the center and the leaves. TIP: Use a battery operated candle so there is no chance of your embellishment catching fire.

Thanks for visiting and I hope I have inspired you to create some decor for your Christmas table!

Couture Creations Supplies:
CO723562 Magical Christmas Eve Decorative Die
CO721979 Red Glitzin' Glamour Glitter Glue
CO723514 Latex Embossing Mat

Friday, December 20, 2013

Tri-Fold Christmas Card by Bridget Louw

Hi! Couture Creations designer Bridget Louw here and I am so excited to show you this super easy tri-fold card to make using an assortment of gorgeous Couture Creations products.


Step 1: Place a 6 inch  x 12 inch piece of cardstock horizontally in your scoring tool. Score at 2 inches, 4 inches, 8 inches and 10 inches. The card measures 4 inches x 6 inches when closed.


Step 2: Turn the cardstock a ¼ turn. Along the long edge, measure in 2 inches. Cut a slit with a craft knife between the score marks at 2 inches and 10 inches. Repeat on the other long side.


Step 3: Fold card as pictured.


Step 4: To decorate the card, cut pieces of patterned paper to cover your base pieces.


I used the Oval and Scalloped Oval Nesting Dies and embossed the plain oval with the Sugarplum Ball Embossing Folder from the Wrapped in Joy Collection.


Step Five: Embellish the card as desired.

These cards are lots of fun to make and take almost no time at all. I hope you like my card and will try making it with the amazing product range from Couture Creations.

Couture Creations Supplies:
C0723603 Wrapped in Joy Collection -  Sugarplum Ball Embossing Folder
C0723044 Oval Nesting Dies
C0723045 Scalloped Oval Nesting Dies
C0721963 Foam Mounting Tape
C0721984 Double-Sided Tape
C0721957 Cutting Mat
C0721986 Handheld Essentials
CO723039 Precision Trimmer

Wednesday, December 18, 2013

Scalloped Paper Christmas Tree by Kerrie Gurney

Hi! Kerrie here today. With Christmas fast approaching I am in full decorating mode. I just love creating special little décor items for our home and also to give to friends. I made lots of these paper trees last year and this year a friend asked me to create one for her so I thought I would add a twist to my plain trees by using Couture Creations Scallop Square Nesting Dies to give this tree a cute edge.


Die-cut 12 of each of the 5 smaller sizes of the Scallop Square Nesting Dies from old book paper. I die-cut 6 sheets at a time, the paper is thin enough to cut through 6 sheets at a time.


Cut a piece of cardboard slightly smaller than the largest die-cut square and glue one sheet of die-cut book paper, this will be the base of the tree.


You will need a skewer and a peat pot or some type of pot for your base. Push the cardboard base onto the skewer and then hot glue the base to the pot.


Now, starting with the biggest size square, start layering the book paper squares onto the skewer. When layering the squares, leave a gap and rotate the squares to give the tree character.


Finish the tree by adding a poinsettia as a tree topper. Die-cut 2 small petals and one large petal using the Magical Christmas Decorative Die. Hold the petals together with a small brad.


Smoosh a bit of Red Glitzin' Glamour Glitter Glue onto the petals and pinch them to add life to the poinsettia.


TIP: Add Crystalina Glitzin' Glamour Glitter Glue to the edge of each layer to add some sparkle, or spray the whole tree with adhesive spray and sprinkle with glitter.

Happy Christmas Creating!
~Kerrie 

Couture Creations Supplies:
CO723043 Scallop Square Nesting Dies
CO723562 Magical Christmas Eve Decorative Die
CO721979 Red Glitzin' Glamour Glitter Glue

Monday, December 16, 2013

Peace on Earth Card with Dana


Hi! Dana here today sharing a vintage Christmas card that I created using the Couture Creations Christmas Morning Embossing Folder. The beautiful embossed edge made an elegant frame for my card. I layered pieces of vintage newspaper and sheet music and a vintage postcard onto my embossed card base. I loved the image on the postcard and decided to play up the green and purple color palette for a non-traditional holiday card.


I topped my festive embellishment cluster with a stamped sentiment that I cut from a vintage book page. I just love the look of aged paper! I added some sparkle to the butterfly wings with Green Glitzin' Glamour Glitter Glue.


I finished my card with some decorative chipboard and a vintage inspired key.

Thanks so much for stopping by today! I wish you and yours all the best this holiday season!

Couture Creations Supplies:
CO723590 Wrapped in Joy Collection - Christmas Morning Embossing Folder
CO721978 Green Glitzin' Glamour Glitter Glue
CO723039 Precision Trimmer

Friday, December 13, 2013

Folded Christmas Tree Card by Bridget Louw


Hi! Couture Creations Designer Bridget Louw here today. I am so excited to show you this super easy Christmas card to make using an assortment of gorgeous Couture Creations products.


The card measurements are:
Cream Cardstock Embossed Panel:  6 ½ inches x 4 7/8 inches
Red Patterned Paper: 6 3/4 inches x 5 inches
Card Base: 10 ¼ inches x 6 7/8 inches, scored at 5 1/8 inches

Using the Joyful Wishes Embossing Folder, emboss the cream cardstock panel. Attach it to the red piece of patterned paper using Double-Sided Tape.


To make the Christmas Tree, using the Square Nesting Dies. Cut 4 squares, with the 4 largest square dies, using green patterned paper of your choice.


Fold the paper as per the diagram below. When you have folded all four squares push the point into the bottom of the pieces in ascending order. Cut a small piece of paper to simulate the tree trunk.


Stick your tree and trunk down onto the embossed layer.

Cut out a stamped sentiment with the small die from the Fleur de Frame Die Set and attach it on the card using Foam Mounting Tape.

Tie a piece of ribbon into a bow and adhere it to the top of the tree.

Thanks for stopping by today! I hope you like my card and will try making it with the amazing product range from Couture Creations!

Couture Creations Supplies:
C0723598 Wrapped in Joy Collection -  Joyful Wishes Embossing Folder
C0723050 Fleur de Frame Die
C0723042 Square Nesting Dies
C0721963 Foam Mounting Tape
C0721984 Double-Sided Tape
C0721957 Self Healing Cutting Mat
C0721986 Handheld Essentials
CO723039 Precision Trimmer