Showing posts with label Dazzling Doily Die. Show all posts

Monday, January 6, 2014

One In A Million by Tracey Cooley


Hi! Couture Creations designer Tracey Cooley here today sharing a layout for the All Occasions feature this week. My gorgeous daughter Tayla is definitely one in a million! She is loving, responsible, thoughtful and a hard worker. Not to mention beautiful (but I could be bias). I love this picture of her my brother took while holidaying in Kenya and hoped to do it justice with a layout that captures her spirit.


I have been looking for a realistic looking rose leaf for some time now and Couture Creations has the perfect leaf to go with roses. You can see on this layout the detail in the leaves and how real they look. All this thanks to the Couture Creations All Occasions Jazmyne Embossing Folder. This has quickly become my favorite embossing folder!

I simply embossed a  piece of Jet Black Core'dinations cardstock with the Jazmyne Embossing Folder and cut out those gorgeous leaves, molded them with my fingers and tucked them under my flowers.


Butterflies a pretty popular on patterned paper and I love to cut their little wings out, fold them up and place an alternate patterned paper underneath. On this layout I have added a bit of Crystalina Glitzin' Glamour Glitter Glue to the patterned paper underneath the butterfly wings. I also added it to the white Dazzling Doily die-cuts under the photograph. I hope you like this layout as much as I do.

Thanks for stopping by and keep on creating!

Couture Creations Supplies:
CO723225 Fantasia Collection - Dazzling Doily Die
CO723222 Fantasia Collection - Ivy Doily Die
CO723293 All Occasions Collection - Jazmyne Embossing Folder
CO721971 Crystalina Glitzin' Glamour Glitter Glue
CO721957 Cutting Mat
CO721987 Craft Knife
CO721956 Sharp Point Scissors

Friday, December 27, 2013

Anniversary Shoe by Tracey Cooley

Hi! Tracey Cooley here today. My cousin has been married for 25 years and she has a small shoe problem...problem being which of her 150 pairs of shoes should she wear! A while ago I created an altered shoe inspired by our very own Sue Smyth and my cousin admired it greatly, so for her anniversary I decided to create her a show in her favorite color.


Most of the flowers I have embellished this shoe with are made using the Couture Creations Victorian Square Nesting Dies, a great set of dies to make easy flowers with!


Cut 3 of each of the smallest 3 Victorian Square Nesting Dies, with 1 of each size being a different color or shade form the others. Cut 3 quarters of the way into the die-cut at each point and layer onto a brad making every third layer the alternate color. Spritz with a bit of water to loosen the paper fibers and scrunch together one layer at a time. Then, unravel your scrunched layers to form your flower. This is a great way to make your flower look a little different from the everyday.

The black flowers in the shoe are created the same way, but when finished, have been spritzed with spray adhesive and sprinkled with pink glitter.


Keep on Creating!


Couture Creations Supplies:
CO723225 Fantasia Collection - Dazzling Doily Die
CO723048 Victorian Square Nesting Dies
CO721994 Pink Diva Gemstones
CO721996 Crystal Gemstones
CO723505 Sophia Collection - Marant Die

Tuesday, November 5, 2013

Sophia Die Week - Intricutz Wreath Card by Dana


Hi! Dana here today sharing a Christmas card that I created using some of the gorgeous dies offered by Couture Creations. I used the NEW Wild Holly Embossing Folder, from the Wrapped In Joy Collection, on the patterned paper base of my card. I put together a layered wreath with cuts from my favorite Dazzling Doily Die and two dies from the Sophia Intricutz Die Collection.

Follow these steps to assemble this card:

Step One: Select two different colored pattered papers. Trim the papers to fit inside each other on a card base. Emboss the top pattered paper with the Wild Holly Embossing Folder. Adhere the patterned paper layers to the card base with Double-Sided Tape.

Step Two: Select three shades of green cardstock. Cut one piece of green cardstock with the Dazzling Doily Die. Cut three pieces of another shade of green cardstock with the Connexion Intricutz Die. Cut the last piece of green cardstock with the Assouline Intricutz Die. Attach the die-cut layers to the front of the card with Foam Mounting Tape with the Dazzling Doily die-cut on the bottom, the Connexion die-cuts in the middle and the Assouline die-cut on the top.

Step Three: Highlight the flower centers of the Assouline die-cut with Red Lust Self-Adhesive Gemstones.

Step Four: Add a sentiment to the center of the wreath.

Step Five: Finish the card by adding a gold bow to the bottom of the wreath.


Thanks so much for stopping by today!

Couture Creations Supplies:
CO723593 Wrapped In Joy Collection - Wild Holly Embossing Folder
CO723225 Fantasia Collection - Dazzling Doily Die
CO723506 Sophia Collection - Connexion Intricutz Die
CO723491 Sophia Collection - Assouline Intricutz Die
CO721993 Red Lust Self-Adhesive Gemstones
CO721984 Double-Sided Tape
CO721961 Foam Mounting Tape
CO723039 Precision Trimmer

Monday, November 4, 2013

Sophia Die Week - Dance by Cathi O'Neill


Hi! Cathi O'Neill here today with you sharing a layout for the Sophia Die feature this week. All she wants to do is dance! I have that Don Henley 80s song running through my head now! My daughter is addicted to ballet, and as she goes up grades, her teacher has encouraged her. She wants to be a professional dancer and it is great to see her so passionate about something. It is a competitive world but if she is serious about this, we will be here to help her along. (Though the idea of long distances travelled for all of this is something I wouldn't mind not having to do, lol!)

This layout showcases some of the new Sophia Intricutz Dies. I just love the amazing flourishes in the Sophia collection. I chose to use the Lanvin Die and the Stella Die, cutting them out on white cardstock and misting them with Shimmerz sprays.


I used the Fresh and Fun Magical Embossing Folder for the background paper for the fussy cut image of my daughter. I used the Couture Creations Sanding Block to bring up the pattern.


Next, I took the Fantasia Collection Dazzling Doily Die and cut it out of white cardstock. I cut the doily in half and inked it with Walnut Stain Distress Ink using the Couture Creations Sponge Daubers.


I then started layering the papers for the layout, putting down the embossed cardstock first and the lace, tucking the doilies underneath and arranging the flourish die cuts on top. I then took my fussy cut photo of my daughter secured it to the page using 12mm Foam Mounting Tape.


I added several pieces of ballet themed chipboard from Molossi and a few flowers, and placed the photo there in the scene. I got my inspiration for this type of layout from the gorgeous work of Britt Sviggum and really wanted to try it!


I added some molding paste through a damask stencil, some gorgeous script and crackle pattern stamping and bright mist to finish the page. I had a lot of fun making this!


Thanks for stopping by today!
~Cathi

Couture Creations Supplies:
CO723279  Fresh and Fun Collection - Magical Embossing Folder
CO723483  Sophia Collection - Stella Die
CO723482  Sophia Collection - Lanvin Die
CO723225 - Fantasia Collection - Dazzling Doily Die
CO723060 - Sanding Block
CO723061 - Sponge Daubers
CO721961 - 12mm Foam Mounting Tape

Wednesday, August 14, 2013

Two Pocket Card by Kerrie Gurney

Hi! Kerrie here with a clever two pocket card tutorial for you today. I love creating this card for special occasions. You can get everyone to sign the tags or you can replace one of the tags with a gift card. It is super easy to create this card with just a single sheet of  8.5" x 11 3/4" (A4 for us Aussies) cardstock.


Fold the cardstock in half long side.


Undo and fold in half short side.

Unfold and cut the from the side into the middle fold line.


Fold the bottom right corner up to the center fold line.

Fold the top left corner down approx 1" to 1.5" from center fold line.


Fold the left top side over to the right.


Fold the whole bottom half up.


Fold the left side to the back. This gives you your pockets...easy! :)


Place the card, excluding the back flap, into the Extra Loren Embossing Folder.


Emboss.


Sand the front of the card using the Sanding Block to bring out the core color of the cardstock.


Place Double-Sided Tape as shown, peel off the protective backing and press to adhere.


Die-cut 1 Fantasia Dazzling Doily Die. Trim 1/3 off and use the bigger half on the front of the card.


Cut 1 tag to fit a 5 1/4" x 2 1/2" pocket and 1 tag to fit a 5 3/4" x 3" pocket. Cut pennants from patterned paper and die-cut a label using the Victorian Rectangle Nesting Die. Embellish the card with flowers, chipboard butterflies and Self Adhesive Pearls.


I hope you have enjoyed this tutorial! Happy creating!

Couture Creations Supplies:
CO723445 Elegance Extra Loren Embossing Folder
CO723225 Fantasia Dazzling Doily Die
CO723049 Victorian Rectangle Nesting Dies
CO721996 Self Adhesive Pearls - Crystal
CO721971 Glitzin' Glamour Glitter Glue - Crystalina
CO721965 Double-Sided Tape
CO721963 Foam Mounting Tape
CO721965 Sharp Point Scissors

Monday, August 12, 2013

Layered Doily Dress Card by Patti Hamil

Patti here today sharing a quick card using the Couture Creations Dazzling Doily Die from the Fantasia Collection. You can make a little layered dress easily from any of the circular dies!


Start out by die-cutting three doilies from solid cardstock. I used a light lavender color.


Cut three circles from a contrasting color of cardstock, two a little larger than the doilies and one just a little smaller. The smaller circle will be for the bodice of the dress and the two larger circles will be for the skirt.


To create the skirt, adhere a doily to one of the larger cardstock circles and fold as shown in the photo below. Repeat to create the second layer of the skirt.


Cut the remaining doily in half, adhere it to the smaller cardstock circle, fold in the edges and attach it to the layered skirt as show in the photo below.


Next comes the fun, embellishing the dress! I added a tulle bow and tiny punched blooms with Couture Creations Self Adhesive Pearls in Pink Blush for flower centers.


Assemble the rest of the card as desired. I added a sentiment tag, some lace and a piece of ribbon. My background is light pink and I used a scrap of patterned paper with lavender flowers. The Couture Creations Precision LED Tweezers make attaching the little pearls a breeze!

The possibilities are endless as to the look of these little dresses. Try creating smaller dresses for use on layouts as embellishments or as a decorative banner.

Thanks so much for dropping by! I hope you enjoyed this tutorial!
~Patti

Couture Creations Supplies:
CO723225 Fantasia Collection - Dazzling Doily Die
CO721997 Self Adhesive Pearls - Pink Blush
CO721954 Precision LED Tweezers

Wednesday, July 31, 2013

Special Time by Patti Hamil

Hi! Patti Hamil here today sharing a layout about one of my very favorite memories, reading with my Daddy as a child. I had one book that was my favorite, "Jasper the Giraffe." It was about a giraffe that never got any mail like the rest of the animals. One day he broke his leg and was surprised when he got lots of "get well" wishes in the mail! I'm not sure if that's the actual book in the photo or not!


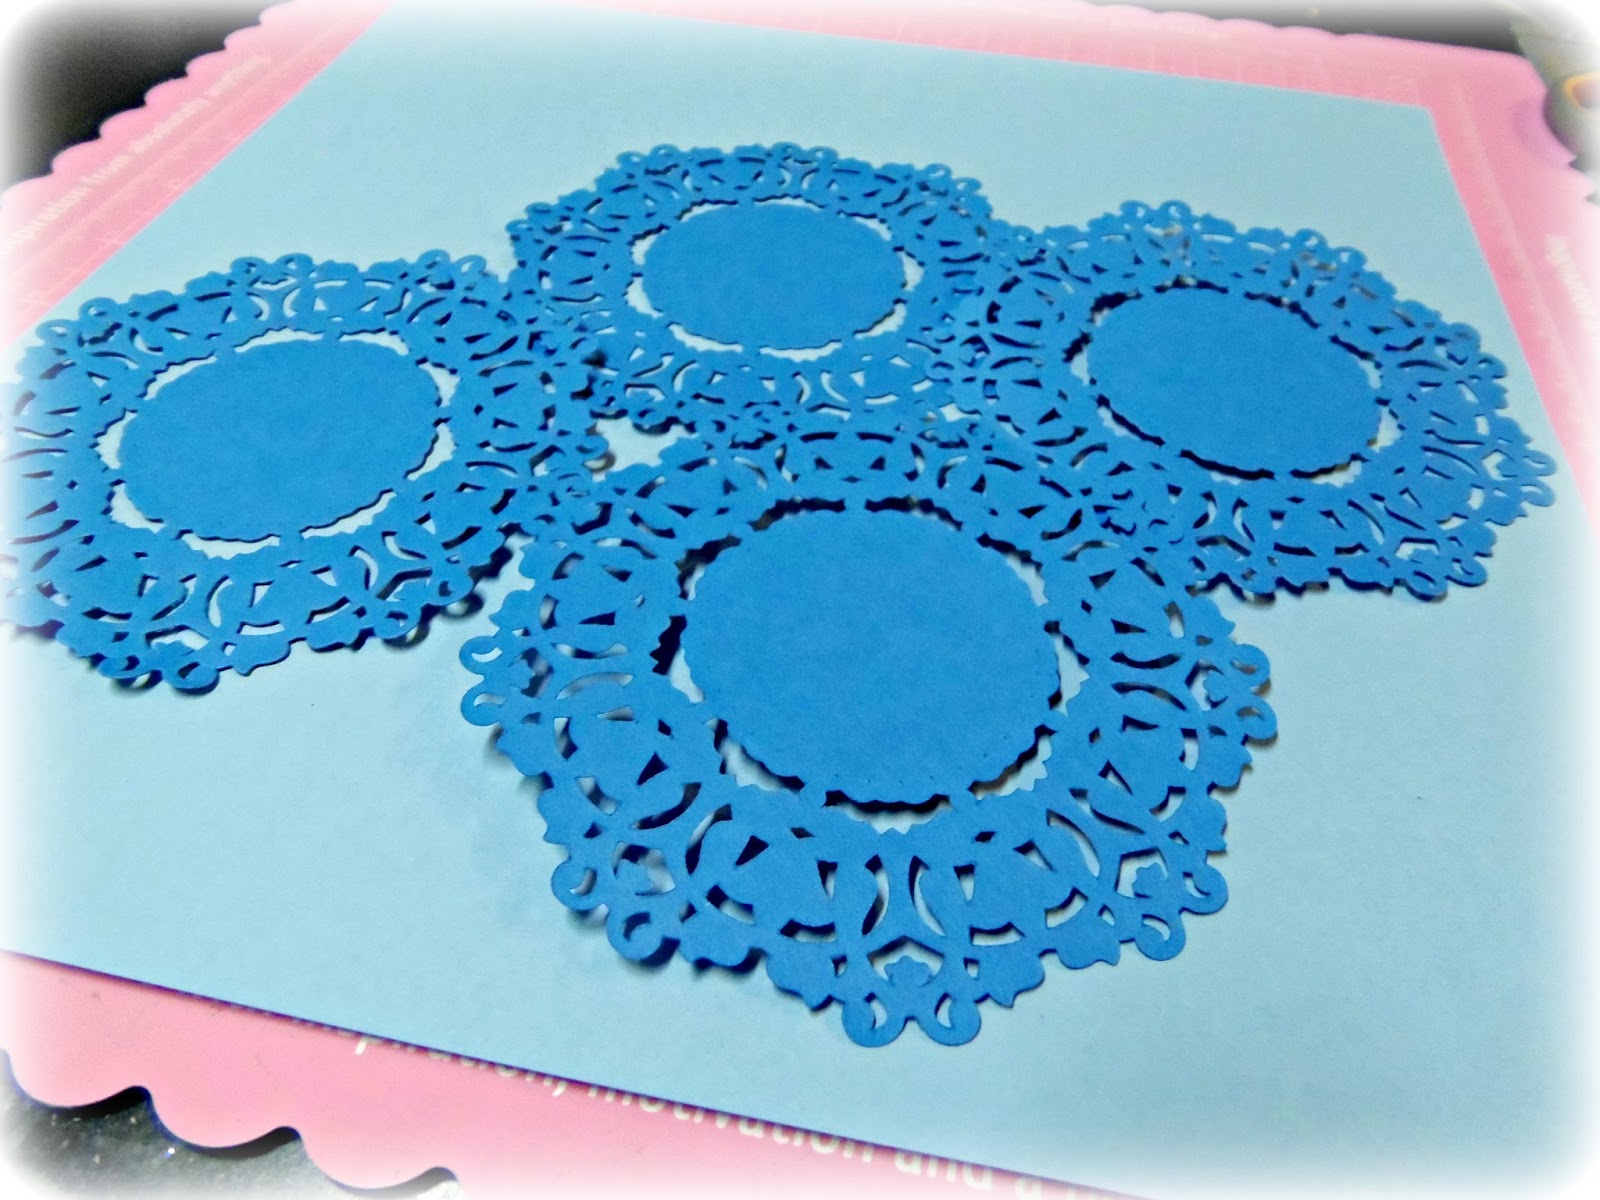
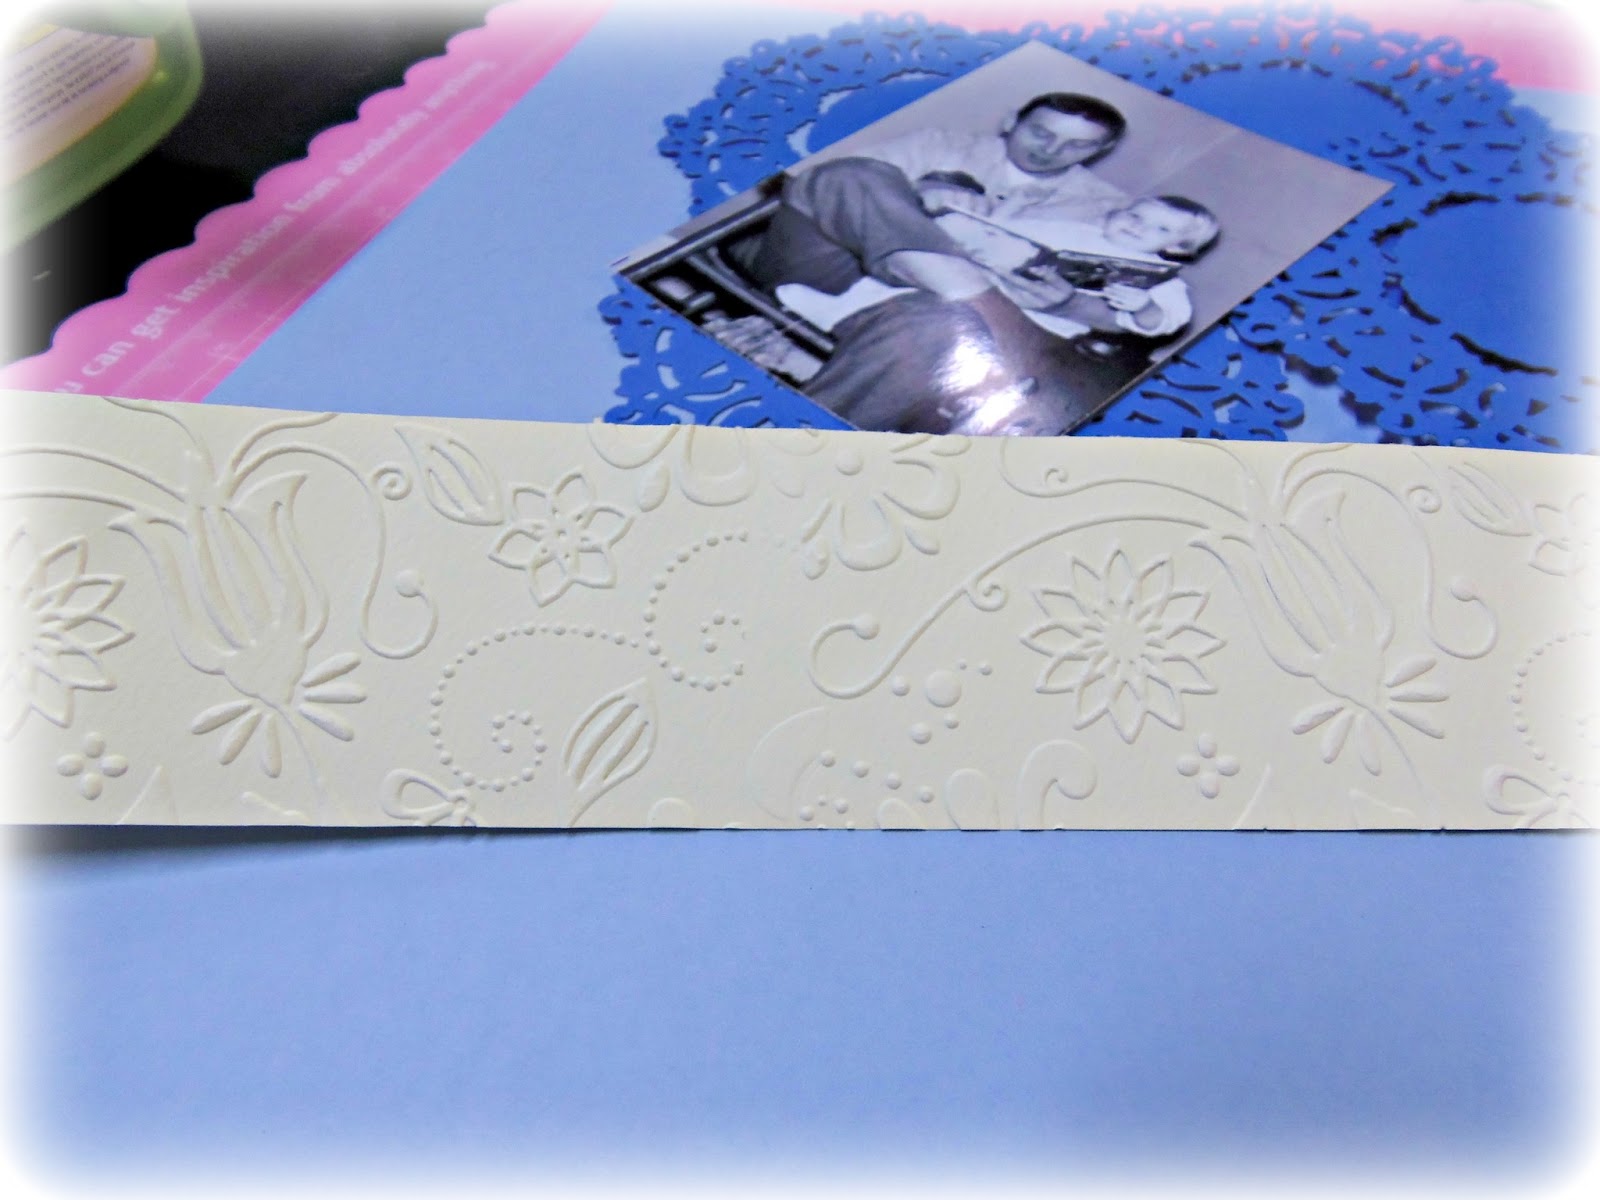
I used the Dazzling Doily Die from the Fantasia Collection. I thought it suited a heritage page. I started by cutting 4 blue doilies and 2 light yellow doilies. I then cut each doily in half.


I used the Fancy That Embossing Folder from the Sweet Dreams Collection and embossed a 12" strip of light yellow cardstock.


I used the Hyper Magical Embossing Folder from the Fresh and Fun Collection with light green cardstock and cut leaves out of it.


I cut a few circles of  random size and placed them on the page as well.

I matted my photo with a piece of cardstock that I embossed with the Fancy That Embossing Folder in yellow, with a solid blue mat behind it for the base.

I added faux stitching with my Zig markers, made a couple of blooms with the Daisy Nesting Dies and then put it all together! I some old alpha stickers for the title.

Thanks for stopping by today!

Couture Creations Supplies:
CO723217 Daisy Nesting Dies
CO723225 Fantasia Collection - Dazzling Doily Die
CO723442 Fresh and Fun Collection - Hyper Magical Embossing Folder
CO723208 Sweet Dreams Collection - Fancy That Embossing Folder
CO721988 Self Adhesive Gemstones - Sparkling