Showing posts with label Bridget Louw. Show all posts

Wednesday, February 19, 2014

Easy Framed Card by Bridget Louw


Hi! Couture Creations Designer Bridget Louw here today with a super quick and easy card.

The card measures 7” high x 5” wide.
The white base layer measures 10” x 7” scored at 5”
The darker pink measures 4 7/8” x 6 7/8”
The lighter pink measures 4 ¾” x 6 ¾”


Using the third largest Square Nesting Die, cut a square from dark pink cardstock. Line up the light pink cardstock over the square cutout and die-cut a larger square using the second largest Square Nesting Die.

You should now have a square window cut out with some of the darker pink showing through like a frame.

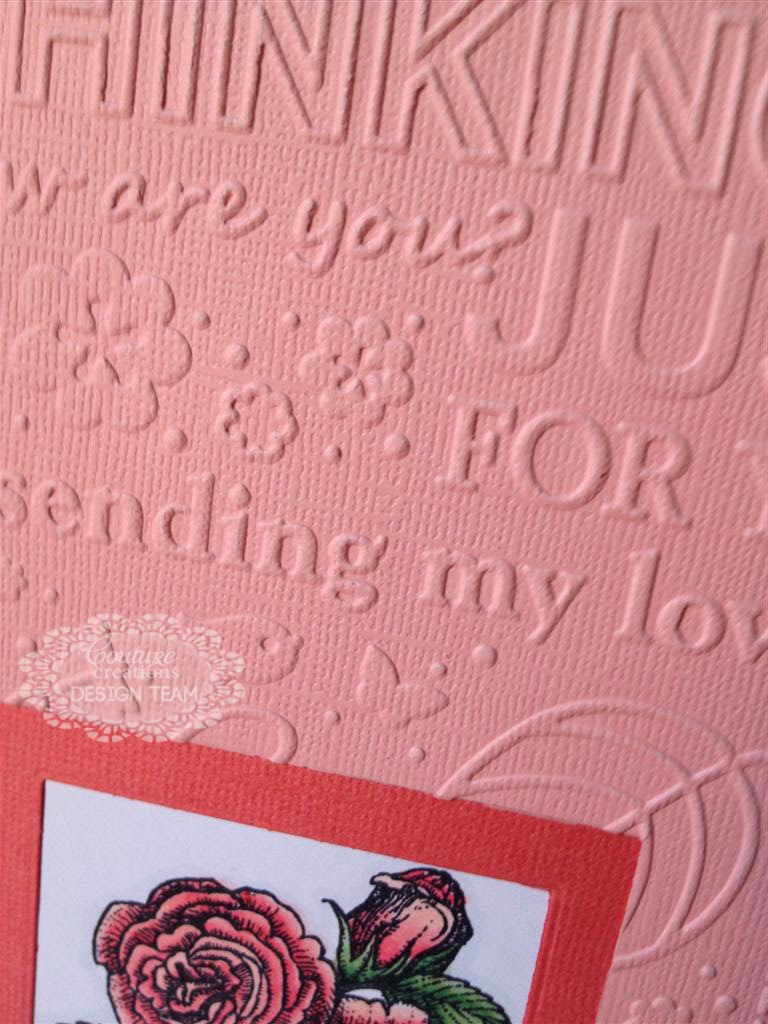
Using the Thinking of You Embossing Folder, emboss the light pink layer. Cut some marker blending cardstock with the largest Square Nesting Die. Stamp the image you have chosen on the shape and color as desired. 

The next step is to adhere the colored image behind the square gap in the dark pink layer. On top of that, stick down the embossed light pink layer.
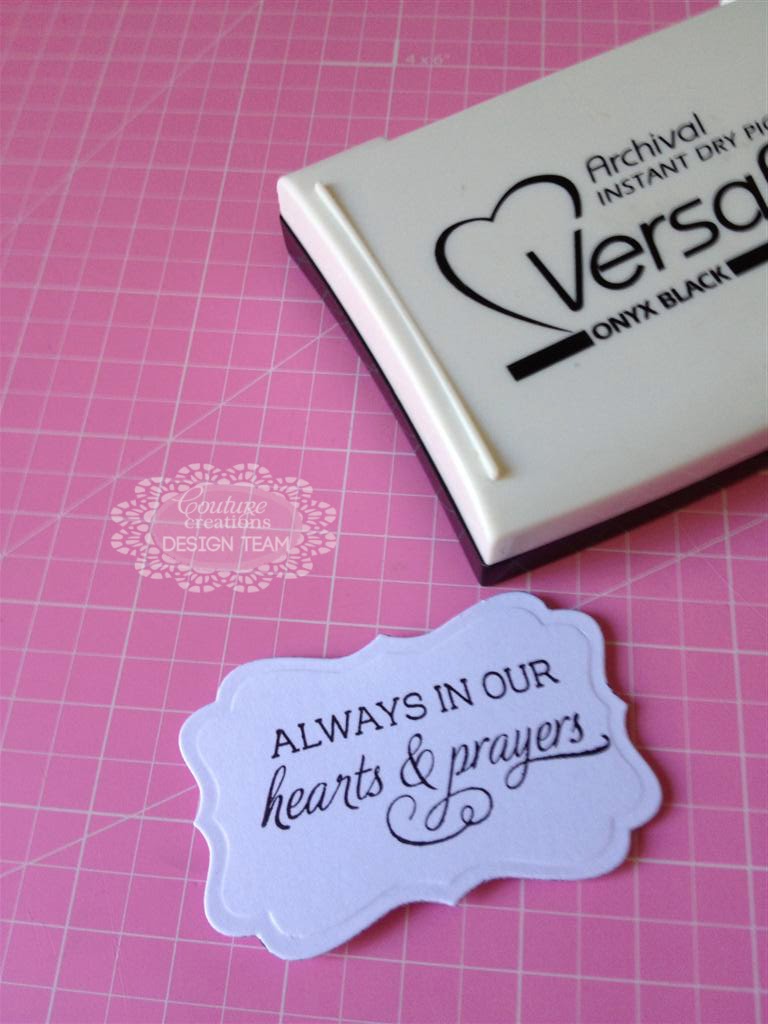
I stamped a sweet sentiment onto a piece of cardstock I had cut using a Victorian Rectangle Nesting Die and glued the sentiment on the inside of the card using Foam MountingTape.
 

Super quick, super easy! I hope you like my card and will try making it with the amazing product range from Couture Creations.
Couture Creations Supplies:
C0723042 Square Nesting Dies
C0723049 Victorian Rectangles Nesting Dies
CO723296 All Occasions Collection -  Thinking of You Embossing Folder
C0721963 Foam Mounting Tape
C0721984 Double Sided Tape
C0721957 Cutting Mat
C0721986 Handheld Essentials
CO723039 Precision Trimmer

Friday, January 24, 2014

Faux Tie Dye Card by Bridget Louw


Hi! Couture Creations Designer Bridget Louw here today sharing a fun card that showcases a faux tie dye technique using Distress Paint. Once the paper has dried you can emboss it or cut it using the amazing array of folders and dies from Couture Creations.

Step 1: Cut a card base from white cardstock to measure 10 inches by 7 inches. Scored at 5 inches.
Cut a piece of colored cardstock to measure 6 7/8 inches by 4 7/8 inches and mount onto the white cardstock base with Double-Sided Tape.

Step Two: Cut another piece of white cardstock to measure  4 3/4 inches by  6 3/4 inches. This is the piece of cardstock that we will faux tie dye.

Step Three: On a non-stick craft mat, spread the Distress Paint in the colors of your choice and mist lightly with water. Sweep your cardstock through the paint until it is completely covered and set aside to dry.


Step Four: While the painted cardstock is drying, use the second smallest die from the Victorian Rectangles Nesting Dies to cut a piece of white cardstock and stamp your card sentiment on it. Create a bow with one or multiple loops and set aside.


Step Five: Put the now dry cardstock through the Large Persuasion Blooms Embossing Folder and attach it to the piece of colored cardstock.
 

Step Six: Create faux stitching with the piercer from the Handheld Essentials Set. Fill in each hole with a white pen to simulate stitches.


Step Seven: Adhere the tie dye cardstock to the front of the card. Attach the sentiment and ribbon using Foam Mounting Tape.

Thanks for stopping by today!
~Bridget

Couture Creations Supplies:
C0723452 All Occasions Collection - Persuasion Blooms Embossing Folder
C0723049 Victorian Rectangles Nesting Dies
C0721963 Foam Mounting Tape
C0721984 Double-Sided Tape
C0721957 Self Healing Cutting Mat
C0721986 Handheld Essential
CO723039 Precision Trimmer

Friday, December 20, 2013

Tri-Fold Christmas Card by Bridget Louw

Hi! Couture Creations designer Bridget Louw here and I am so excited to show you this super easy tri-fold card to make using an assortment of gorgeous Couture Creations products.


Step 1: Place a 6 inch  x 12 inch piece of cardstock horizontally in your scoring tool. Score at 2 inches, 4 inches, 8 inches and 10 inches. The card measures 4 inches x 6 inches when closed.


Step 2: Turn the cardstock a ¼ turn. Along the long edge, measure in 2 inches. Cut a slit with a craft knife between the score marks at 2 inches and 10 inches. Repeat on the other long side.


Step 3: Fold card as pictured.


Step 4: To decorate the card, cut pieces of patterned paper to cover your base pieces.


I used the Oval and Scalloped Oval Nesting Dies and embossed the plain oval with the Sugarplum Ball Embossing Folder from the Wrapped in Joy Collection.


Step Five: Embellish the card as desired.

These cards are lots of fun to make and take almost no time at all. I hope you like my card and will try making it with the amazing product range from Couture Creations.

Couture Creations Supplies:
C0723603 Wrapped in Joy Collection -  Sugarplum Ball Embossing Folder
C0723044 Oval Nesting Dies
C0723045 Scalloped Oval Nesting Dies
C0721963 Foam Mounting Tape
C0721984 Double-Sided Tape
C0721957 Cutting Mat
C0721986 Handheld Essentials
CO723039 Precision Trimmer

Friday, December 13, 2013

Folded Christmas Tree Card by Bridget Louw


Hi! Couture Creations Designer Bridget Louw here today. I am so excited to show you this super easy Christmas card to make using an assortment of gorgeous Couture Creations products.


The card measurements are:
Cream Cardstock Embossed Panel:  6 ½ inches x 4 7/8 inches
Red Patterned Paper: 6 3/4 inches x 5 inches
Card Base: 10 ¼ inches x 6 7/8 inches, scored at 5 1/8 inches

Using the Joyful Wishes Embossing Folder, emboss the cream cardstock panel. Attach it to the red piece of patterned paper using Double-Sided Tape.


To make the Christmas Tree, using the Square Nesting Dies. Cut 4 squares, with the 4 largest square dies, using green patterned paper of your choice.


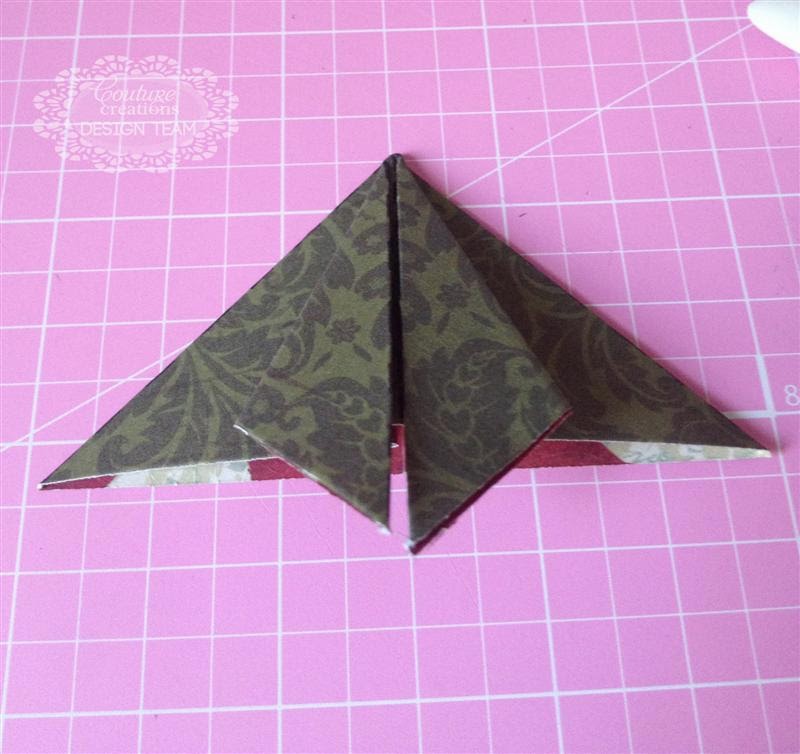
Fold the paper as per the diagram below. When you have folded all four squares push the point into the bottom of the pieces in ascending order. Cut a small piece of paper to simulate the tree trunk.


Stick your tree and trunk down onto the embossed layer.

Cut out a stamped sentiment with the small die from the Fleur de Frame Die Set and attach it on the card using Foam Mounting Tape.

Tie a piece of ribbon into a bow and adhere it to the top of the tree.

Thanks for stopping by today! I hope you like my card and will try making it with the amazing product range from Couture Creations!

Couture Creations Supplies:
C0723598 Wrapped in Joy Collection -  Joyful Wishes Embossing Folder
C0723050 Fleur de Frame Die
C0723042 Square Nesting Dies
C0721963 Foam Mounting Tape
C0721984 Double-Sided Tape
C0721957 Self Healing Cutting Mat
C0721986 Handheld Essentials
CO723039 Precision Trimmer