Hi! Patti here today sharing a layout. I used several Couture Creations dies and embossing folders!
This is my youngest son's fiance, and we are so happy to have her join our family! She is beautiful inside and out!
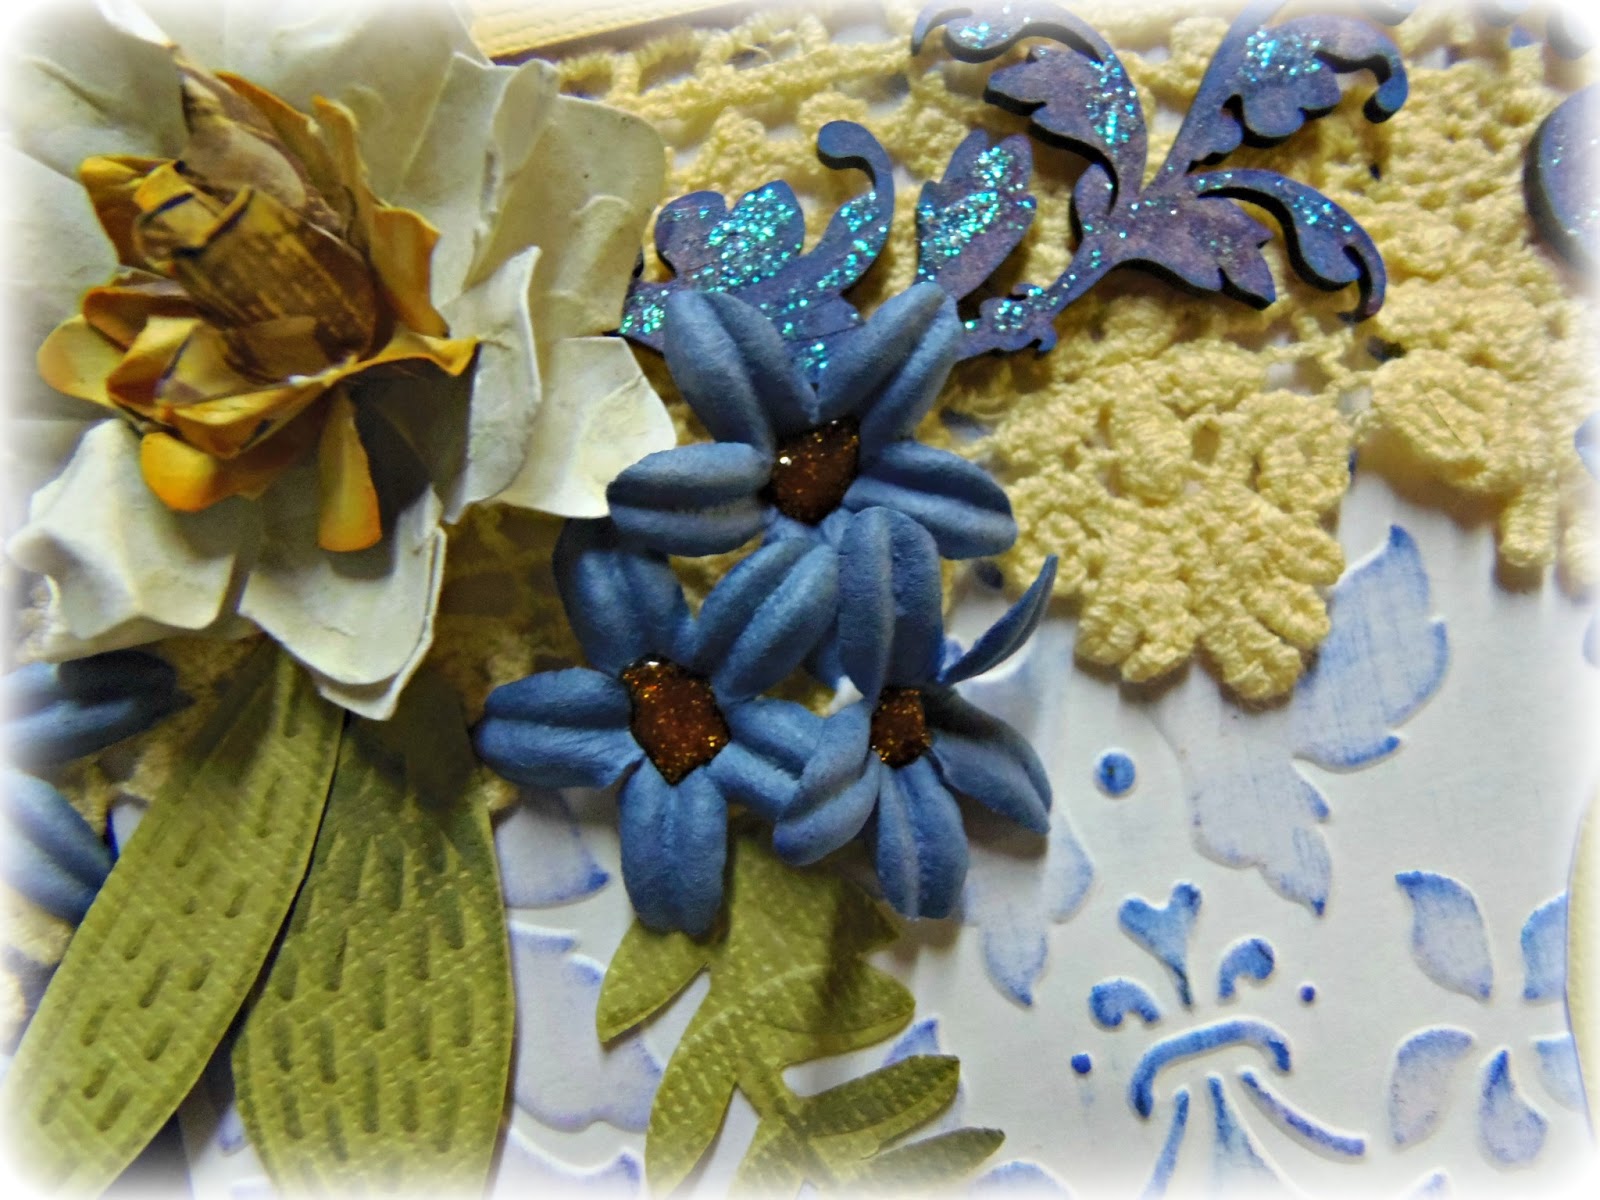
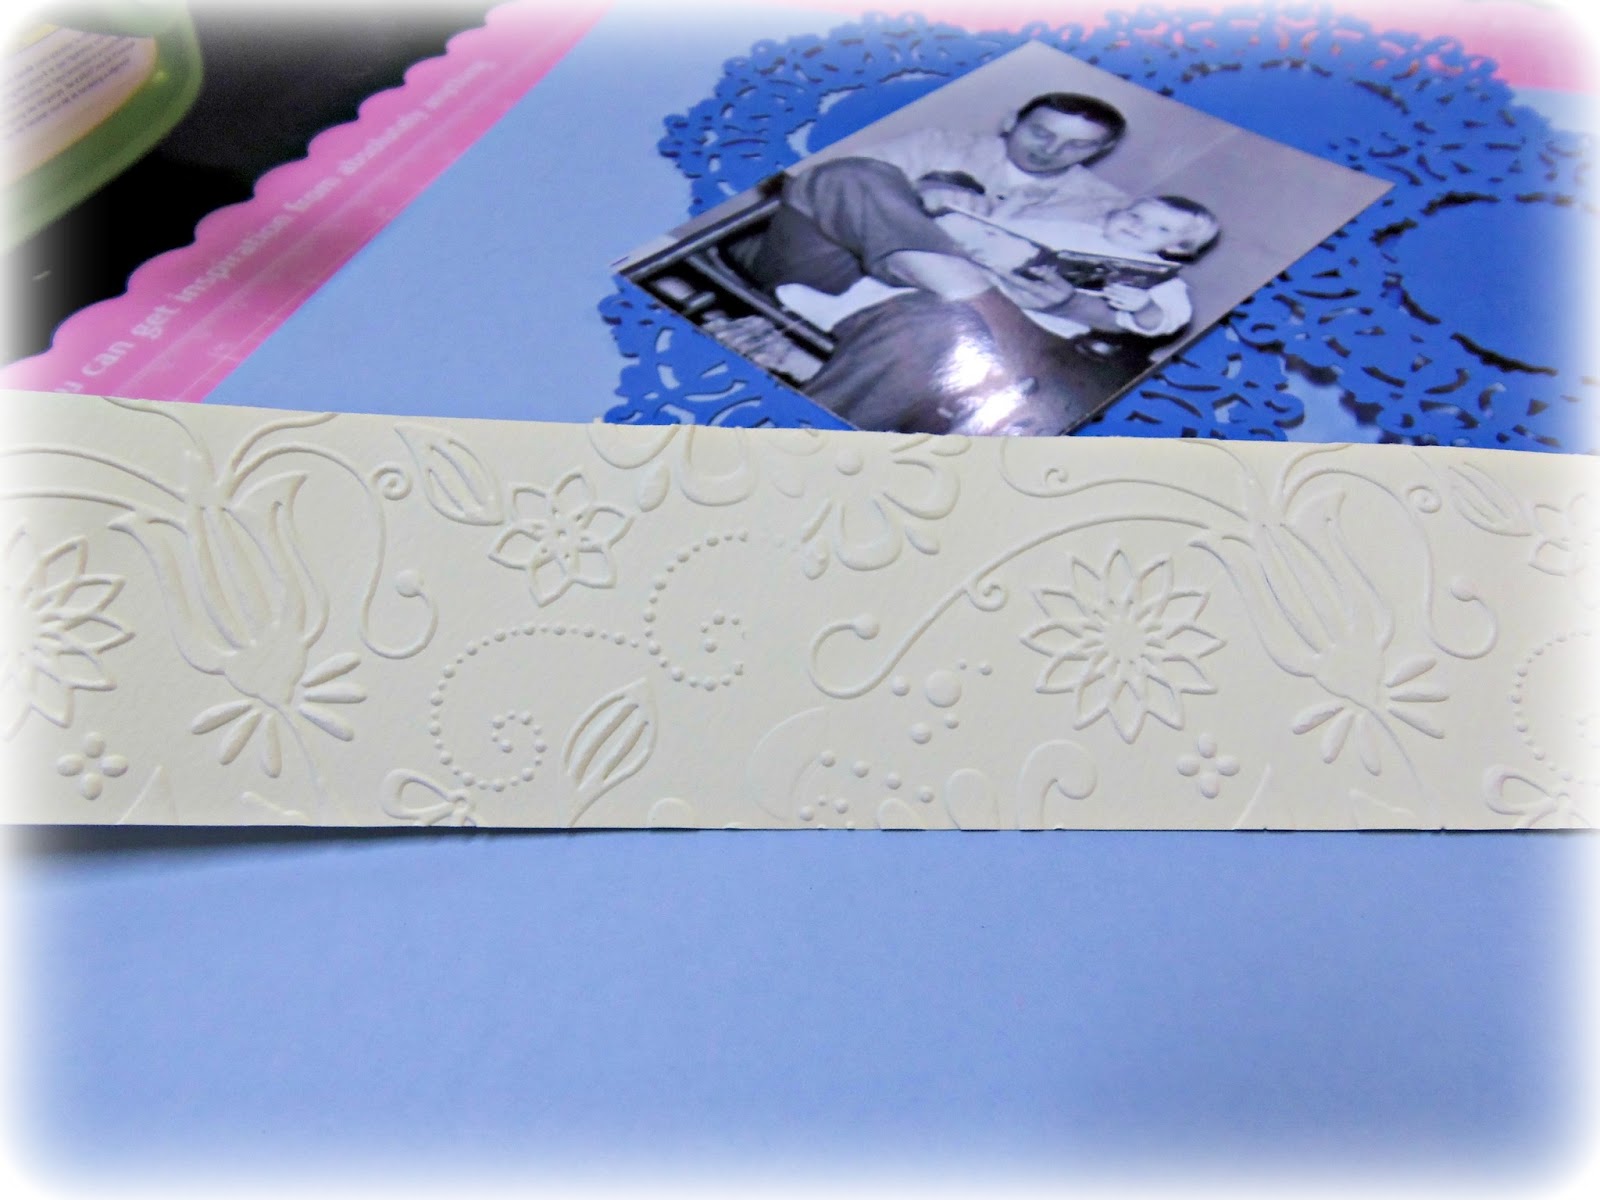
I made some blue flowers with the Daisy Nesting Dies. I used one of the Sophia Dies for the leaves. I added a self-adhesive pearl for the flower center. I layered a scrap piece of embossed paper under the photo.
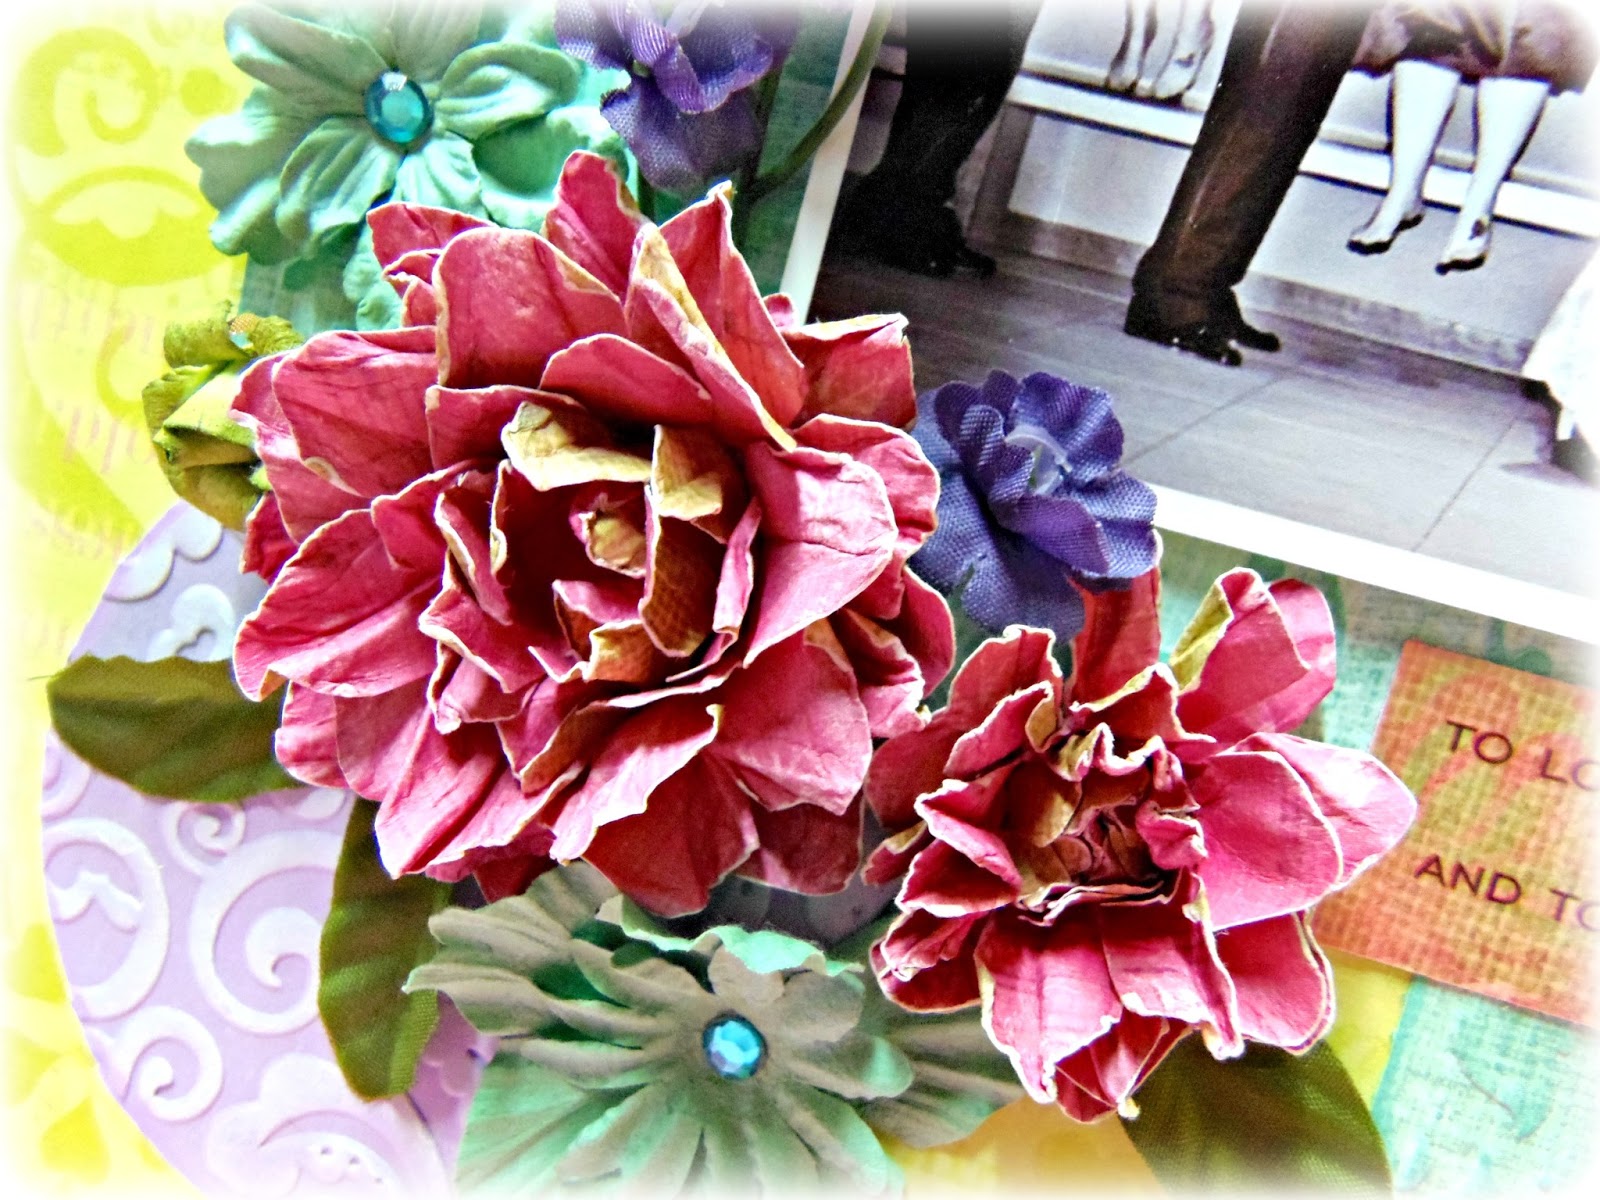
I made two more types of flowers made with the Daisy Nesting Dies, some Self-Adhesive Gemstones and another Sophia Intricutz Die. I added Gemstones to some areas for a gold accent.
I embossed two Core'dinations tags with the Craisy Daisy Embossing Folder. I inked them lightly with white ink.
This page came together using scraps and just a few accents! I like to go through my scrap pile to see what combinations I can come up with!
Thanks so much for stopping by!
~Patti
Couture Creations Supplies:
CO723217 Daisy Nesting Dies
CO723505 Sophia Intricutz Dies - Marant
CO723493 Sophia Intricutz Dies - Mattloa
CO723525 Fine Designs Collection - Crazy Daisy Embossing Folder
CO723284 Elegance Collection - Taylor Embossing Folder
CO721999 Cafe Cream Self Adhesive Pearls
CO721992 Blue Iceberg Self Adhesive Gemstones
CO721990 Vintage Gold Self Adhesive Gemstones
Showing posts with label Daisy Nesting Dies. Show all posts
Monday, December 30, 2013
Friday, December 6, 2013
Miracle by Patti Hamil
Hi! Patti here today sharing a layout of my Granddaughter featuring a photo right after she was born! She is almost five months old now, time is passing too fast! I wanted a soft look so I kept the colors neutral with pink and a little bit of green.
Here are some close-ups of the details. I used the Poetry Embossing Folder from the Elegance Collection on a soft pink cardstock and then inked over it with white. It just suits the sweet photo!
To create the flowers, start by snipping into every second petal as shown below.
Add a Cafe Cream Self-Adhesive Pearl and Crystalina Glitzin' Glamour to the flower center to finish the bloom.
Couture Creations Supplies:
CO723045 Scalloped Oval Nesting Dies
CO723501 Sophia Intricutz Dies - Bossa
CO723217 Daisy Nesting Dies
CO723285 Elegance Collection - Poetry Embossing Folder
CO721971 Crystalina Glitzin' Glamour Crystalina
CO721999 Cafe Cream Self-Adhesive Pearls
Here are some close-ups of the details. I used the Poetry Embossing Folder from the Elegance Collection on a soft pink cardstock and then inked over it with white. It just suits the sweet photo!
I made the blooms from the Daisy Nesting Dies! I used some chalk ink, Glitzin' Glamour and Pearls!
To create the flowers, start by snipping into every second petal as shown below.
Trim each side of the double petals to look like the one below, ink across each section and in the center.
Add a Cafe Cream Self-Adhesive Pearl and Crystalina Glitzin' Glamour to the flower center to finish the bloom.
Couture Creations Supplies:
CO723045 Scalloped Oval Nesting Dies
CO723501 Sophia Intricutz Dies - Bossa
CO723217 Daisy Nesting Dies
CO723285 Elegance Collection - Poetry Embossing Folder
CO721971 Crystalina Glitzin' Glamour Crystalina
CO721999 Cafe Cream Self-Adhesive Pearls
Wednesday, October 9, 2013
Felt Flower Card by Dana Tatar
Hi! Dana here today sharing a fall themed card. I recently bought some felt and have been having a lot of fun creating felt flowers! This felt flower comes together fast with the help of the Daisy Nesting Dies and some hot glue, but let's start by assembling the card.
Step One: Emboss a piece of patterned paper with the Exotic Embossing Folder from the Couture Creations Fine Designs Collection. Lightly ink over the embossed pattern to highlight the design and adhere the paper to a cardstock card base.
Step Two: Cut a piece of orange cardstock with the Fleur-De Frame Nesting Die. Place the die over the cut piece of cardstock and, using a Sponge Dauber and the die as a mask, add ink to the open spaces of the die. Adhere the cardstock frame to the center of the card with Double-Sided Tape. Add two feathers to the top of the Fleur-De Frame.
Step Three: Cut a piece of double-sided patterned paper with the Ivy Doily Die Set and adhere the doilies, one of each pattern, to a strip of kraft paper and then to the card over the center of the Fleur-De Frame.
Step Four: Stamp a sentiment onto a piece of blue patterned paper and add three Vintage Gold Self Adhesive Gemstones. Adhere the sentiment strip to the center of the larger Ivy Doily with Double-Sided Tape.
Step Five: Emboss a piece of green cardstock with the Turkish Delight Embossing Folder (Fine Designs Collection). Using Sharp Point Scissors, cut two leaves from the embossed cardstock and adhere them to the card in the center of the two Ivy Doilies with Foam Mounting Tape.
Step Six: Assemble the felt flower and adhere it to the card with Foam Mounting Tape.
Felt Flower Tutorial
Step One: Cut five of the second smallest daisy shape and two of the smallest daisy shape from felt with the Daisy Nesting Dies.
Step Two: Fold one of the larger daisy shapes in half and secure with a dot of hot glue. Repeat for 3 more daisy shapes. The leftover larger daisy shape will be the used for the base of the flower.
Step Three: Fold each of the four flower shapes from Step Two in half again and secure with a dot of hot glue. These four pieces are the larger petals of the flower.
Step Four: Glue the four larger petals to the flower base.
Step Five: Fold and glue the two smaller daisy shapes the same way as the larger daisy shapes. Glue the two smaller petals to the top of the flower.
I adapted this flower design from a felt flower tutorial that I found here.
Thanks so much for stopping by today!
CO723256 Fine Designs Collection - Exotic Embossing Folder
CO723252 Fine Designs Collection - Turkish Delight Embossing Folder
CO723217 Premium Nesting Dies Collection - Daisy
CO723050 First Premium Nesting Dies Collection - Fleur-De Frame
CO723222 Fantasia Premium Doily Die Collection - Ivy Doily Die Set
CO721990 Vintage Gold Self Adhesive Gemstones
CO721956 Sharp Point Scissors
CO723061 Sponge Dauber
CO721965 Double-Sided Tape
CO721963 Foam Mounting Tape
CO721957 Cutting Mat
Friday, August 23, 2013
Country Time + Handmade Daisies with Patti
Hello, its Patti here today with another variation of a bloom made with the Couture Creations Daisy Nesting Dies. There are so many different ways to customize handmade
blooms. I really enjoy playing around with them and this one turned out
pretty cute!
First, here is the finished page. These flowers were all picked within a mile of my house while walking on a dirt road and I put them in a mason jar glass. Just one of the perks of living in the country!
I altered a chipboard flourish from Imaginarium Designs using the same two colors of ink and then topped it with a coat of Glitzin' Glamour in Crystalina. Such a pretty look!
Using the Sharp Point Scissors, I snipped between each petal, making sure not to cut all the way to the flower center.
Next, I spritzed the flowers with water and curled them up as shown.
Once the petals were dry, I carefully pulled apart the petals with the Piercing Tool, taking care to not tear the tiny petals.
Once unfolded, I layered the petals and put them together!
This is what the bloom looks like after four layers of petals. You can play around and curl, fluff or do whatever you want with the blooms!
Here you see part of the chippie with the Glitzin' Glamour and some of the tiny blooms.
First, here is the finished page. These flowers were all picked within a mile of my house while walking on a dirt road and I put them in a mason jar glass. Just one of the perks of living in the country!
The first thing that I did was to use the Large Damask Flourish Embossing Folder from the Elegance Collection and emboss 2 pieces of
white cardstock. I cut the cardstock into one long strip and just embossed each
end. I then used two colors of ink, one purple and one blue, to get the
desired color to match the background.
I altered a chipboard flourish from Imaginarium Designs using the same two colors of ink and then topped it with a coat of Glitzin' Glamour in Crystalina. Such a pretty look!
For the blooms I used the Daisy Nesting Dies in the two smallest
sizes. I used the largest of the two for the white outer blooms and the
smaller for the yellow centers. I inked the edges after
cutting them out.
Using the Sharp Point Scissors, I snipped between each petal, making sure not to cut all the way to the flower center.
Next, I spritzed the flowers with water and curled them up as shown.
Once the petals were dry, I carefully pulled apart the petals with the Piercing Tool, taking care to not tear the tiny petals.
Once unfolded, I layered the petals and put them together!
This is what the bloom looks like after four layers of petals. You can play around and curl, fluff or do whatever you want with the blooms!
Here are the daisies on the page, along with the little blue blooms that I
used a tiny dot of the Gold Glitzin' Glamour for the centers! You can
also see some embossed fussy cut leaves that I created with the Hyper Magical Embossing Folder from the Fresh & Fun Collection.
Here you see part of the chippie with the Glitzin' Glamour and some of the tiny blooms.
A few more close-ups.
I hope you enjoyed this post and I really appreciate you stopping by!
Couture Creations Supplies:
CO723217 Daisy Nesting Dies
CO723449 Elegance Collection - Large Damask Flourish Embossing Folder
CO723442 Fresh & Fun Collection - Hyper Magical Embossing Folder
CO721971 Glitzin' Glamour Glitter Glue - Crystalina
CO721976 Glitzin' Glamour Glitter Glue - Gold
CO721961 Foam Mounting Tape
Wednesday, July 31, 2013
Special Time by Patti Hamil
Hi! Patti Hamil here today sharing a layout about one of my very favorite memories, reading with my
Daddy as a child. I had one book that was my favorite, "Jasper the
Giraffe." It was about a giraffe that never got any mail like the rest of the animals. One day he broke his leg and was
surprised when he got lots of "get well" wishes in the mail! I'm not
sure if that's the actual book in the photo or not!
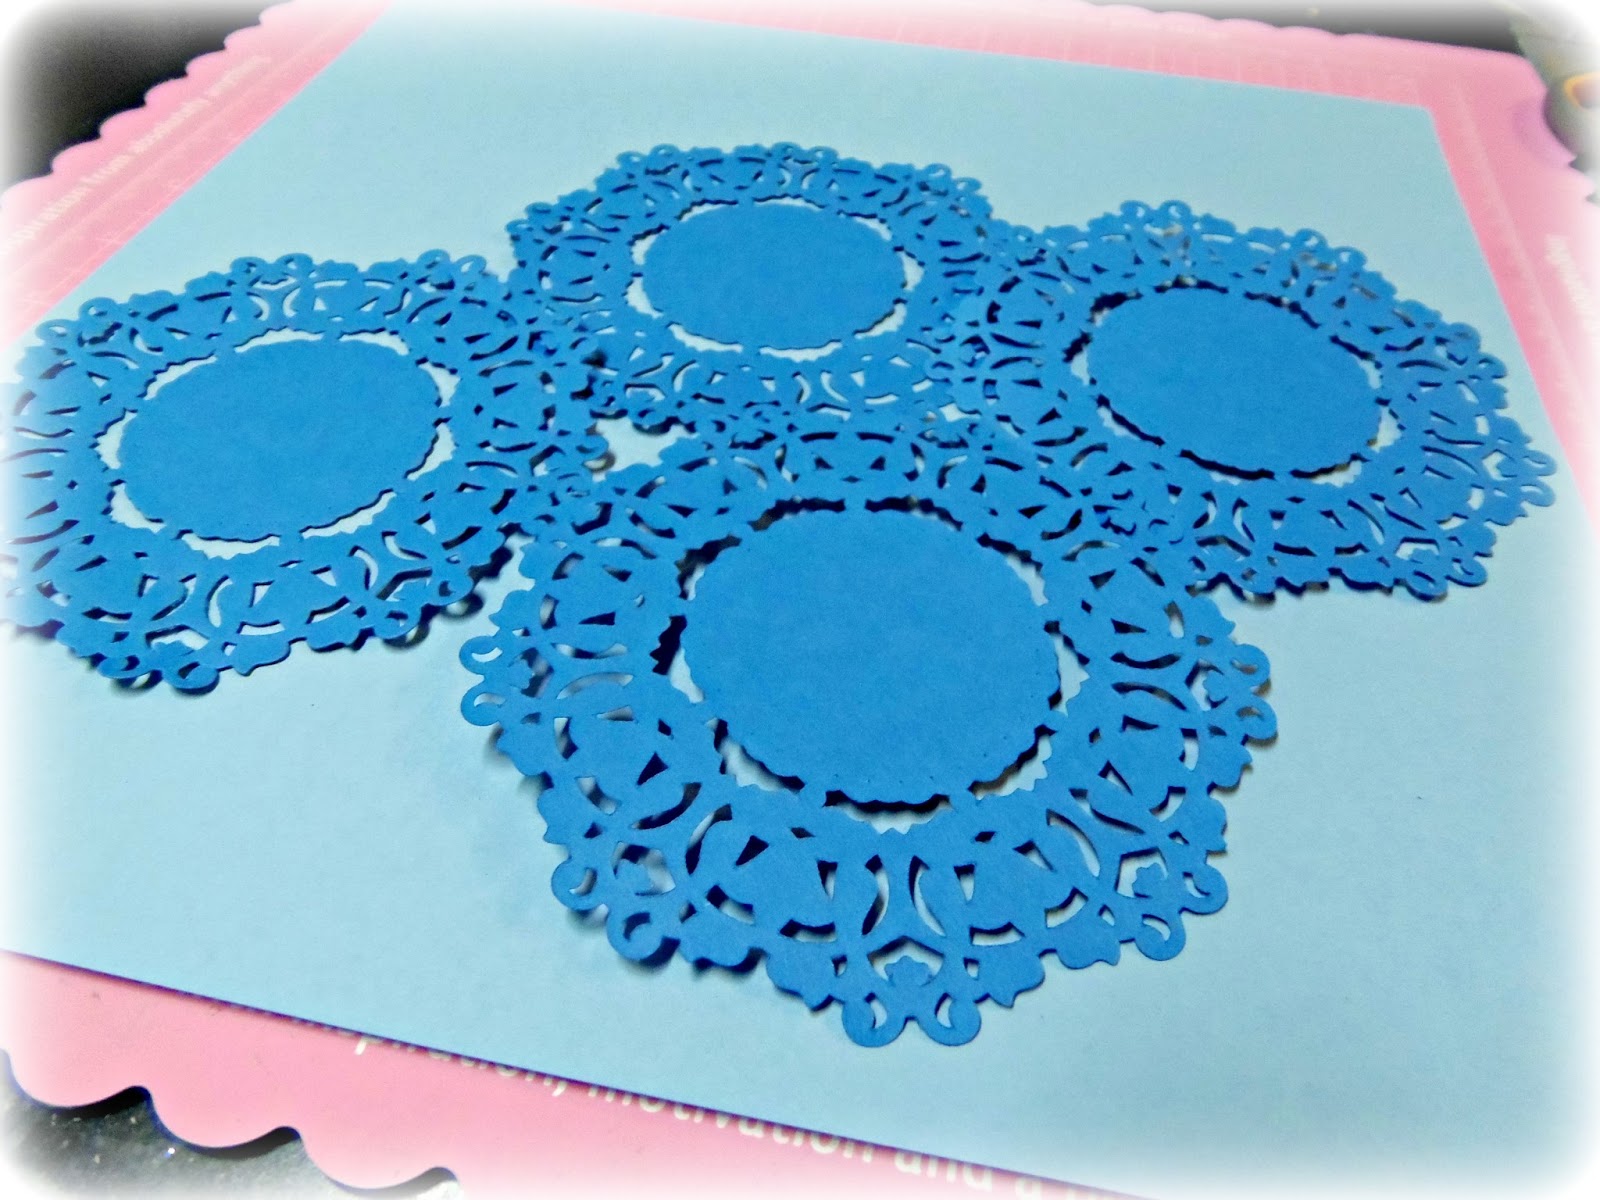
I used the Dazzling Doily Die from the Fantasia Collection. I thought it suited a
heritage page. I started by cutting 4 blue doilies and 2 light yellow doilies. I then cut
each doily in half.
I used the Fancy That Embossing Folder from the Sweet Dreams Collection and embossed a 12" strip of light yellow cardstock.
I used the Hyper Magical Embossing Folder from the Fresh and Fun Collection with light green cardstock and cut leaves out of it.
I cut a few circles of random size and placed them on the page as well.
I matted my photo with a piece of cardstock that I embossed with the Fancy That Embossing Folder in yellow, with a solid blue mat behind it for the base.
I added faux stitching with my Zig markers, made a couple of blooms
with the Daisy Nesting Dies and then put it all together! I some old alpha stickers for the title.
Thanks for stopping by today!
Couture Creations Supplies:
CO723217 Daisy Nesting Dies
CO723225 Fantasia Collection - Dazzling Doily Die
CO723442 Fresh and Fun Collection - Hyper Magical Embossing Folder
CO723208 Sweet Dreams Collection - Fancy That Embossing Folder
CO721988 Self Adhesive Gemstones - Sparkling
Monday, July 22, 2013
Handmade Daisys with Patti Hamil
Hello everyone! Patti Hamil here today. I
wanted to share a layout with some handmade blooms that I
created with the Daisy Nesting Dies.
This is a page of our niece on her wedding day! I just love the fun photo capturing the excitement!
I used the Daisy Nesting Dies for these blooms. I made two different sizes. You can make them the size you want, you just need 2 smaller and 3 larger daisy shapes. After cutting, use a Sponge Dauber and ink the center with a little darker ink and snip slightly between each petal. Next, use a Piercing Tool to make a hole in the center of each daisy. Attach the layers of petals together with a brad. Spritz well with water and carefully fold each layer up toward the brad, gathering in the center. Your bloom will look like the one below. Set aside to dry.
Next, use a Piercing Tool to carefully pull apart each layer of petals. Be careful to prevent tearing as some sections are bunched up really tightly.
Once the petals are separated, remove the brad.
Layer the petals and attach with the adhesive of your choice. I used a white glue on mine.
Here is a closeup of a finished bloom. You don't need a center, they look more natural left the way they are!
For my background, I embossed two pieces of aqua colored patterned paper with the Large Damask Flourish Embossing Folder. I embossed a solid lavender paper with the Extra Confetti Embossing Folder and then cut the paper into circles.
Here you see some closeups of the detail of this.
This is a page of our niece on her wedding day! I just love the fun photo capturing the excitement!
I used the Daisy Nesting Dies for these blooms. I made two different sizes. You can make them the size you want, you just need 2 smaller and 3 larger daisy shapes. After cutting, use a Sponge Dauber and ink the center with a little darker ink and snip slightly between each petal. Next, use a Piercing Tool to make a hole in the center of each daisy. Attach the layers of petals together with a brad. Spritz well with water and carefully fold each layer up toward the brad, gathering in the center. Your bloom will look like the one below. Set aside to dry.
Next, use a Piercing Tool to carefully pull apart each layer of petals. Be careful to prevent tearing as some sections are bunched up really tightly.
Once the petals are separated, remove the brad.
Layer the petals and attach with the adhesive of your choice. I used a white glue on mine.
Here is a closeup of a finished bloom. You don't need a center, they look more natural left the way they are!
For my background, I embossed two pieces of aqua colored patterned paper with the Large Damask Flourish Embossing Folder. I embossed a solid lavender paper with the Extra Confetti Embossing Folder and then cut the paper into circles.
Here you see some closeups of the detail of this.
I used Foam Mounting Tape to raise the smaller embossed circles
for some added dimension. I really like how the intricate patterns of
the embossing folders are so visible. These are great folders!
I hope you have enjoyed this tutorial on
making blooms. You can play around and get lots of different looks with
this technique!
I appreciate you stopping by!
Couture Creations Supplies:
CO723217 - Daisy Nesting Dies
CO723449 - Elegance Collection - Large Damask Flourish Embossing Folder
CO723287 - Elegance Collection - Extra Confetti Embossing Folder
CO721992 - Self Adhesive Gemstones - Blue Iceberg
CO723061 - Sponge Dauber
CO721986 - Handheld Essentials - Piercing Tool
CO721965 - Foam Mounting Tape - 18mm x 50m
Subscribe to:
Posts (Atom)